Fall Training Reset: Inspecting and Replacing Your K9 Equipment
Sep 21st 2026
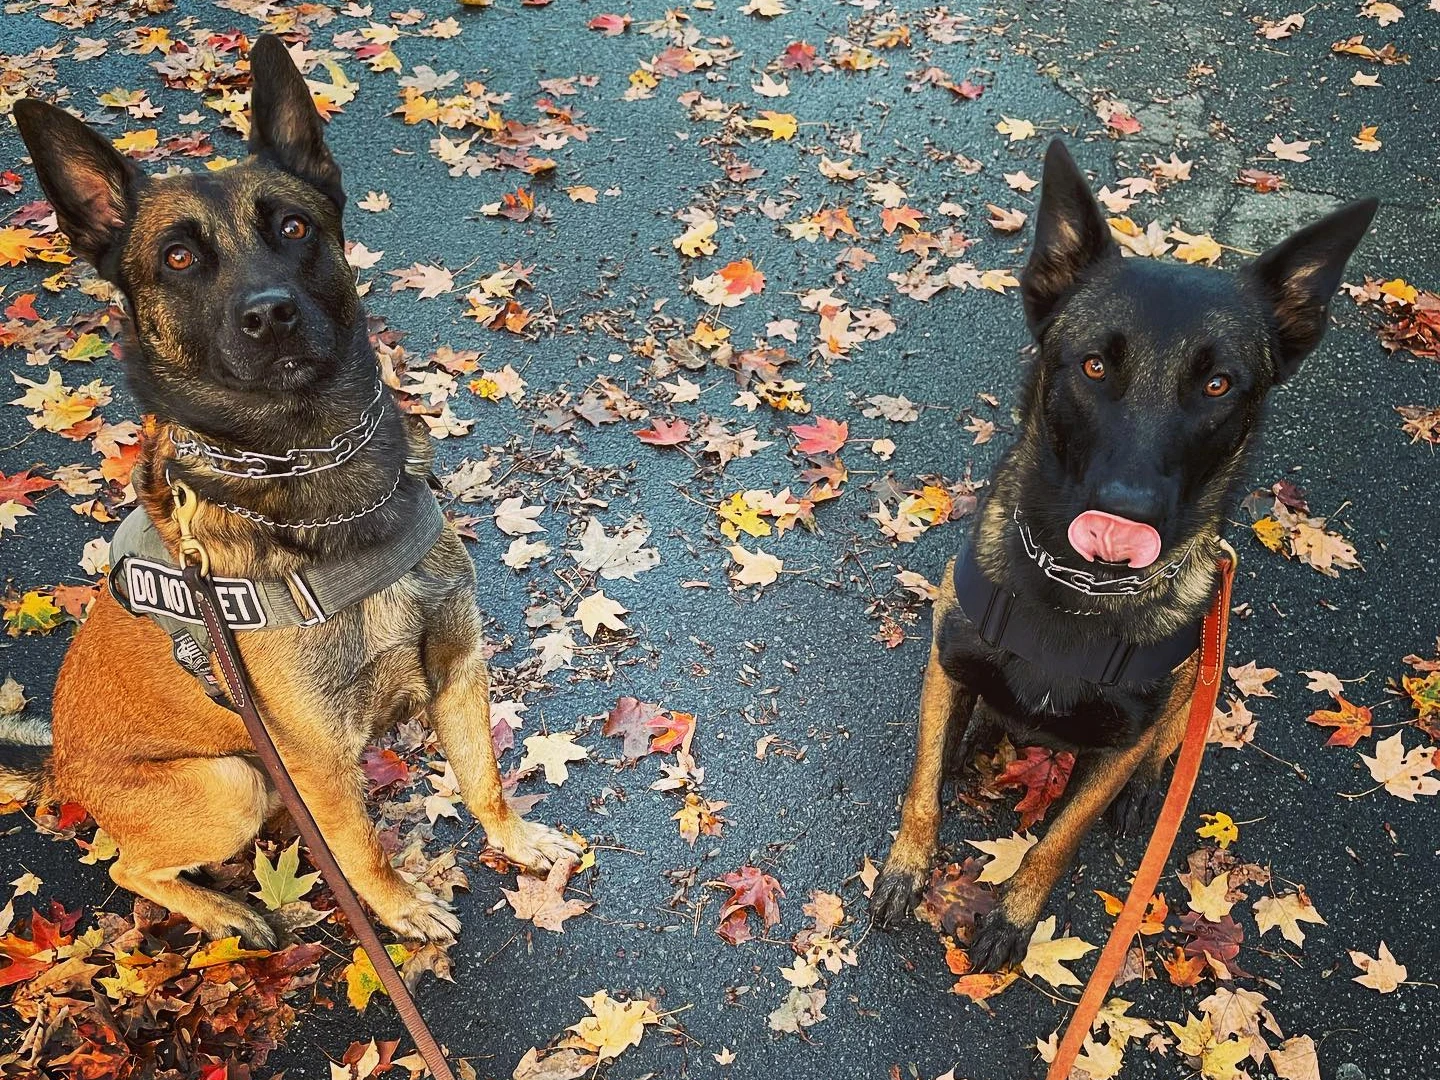
Fall is a good time to reset the training routine, clean out the vehicle, and give every piece of working dog equipment an honest inspection. Summer heat, dirt, water, travel, hard reps, and daily use can all take a toll on collars, harnesses, leashes, and training tools.
For a serious handler, gear inspection is not busywork. It is part of the safety system. A worn stitch line, cracked buckle, bent ring, or damaged snap can turn into a problem when a dog hits the end of the line or when control matters most.
We recommend building a quick equipment check into every seasonal reset, and checking high-use gear more often.
Start With a Clean Inspection
It is much easier to spot damage when dirt, mud, hair, and dried slobber are not hiding it.
- Brush off loose debris and hair.
- Wipe down nylon, Biothane, and hardware according to the product’s care guidance.
- Clean and condition leather with appropriate leather care products.
- Let gear dry fully before storing it.
- Lay each item out in good light before inspecting it.
Do not inspect only the parts that are easy to see. Look under padding, around handles, beneath strap keepers, inside attachment points, and anywhere webbing passes through hardware.
Harness Inspection Checklist
A K9 harness handles movement, pulling, lifting, tracking, agitation work, and sometimes specialized tasks such as rappelling or gear carry. Inspect every load-bearing area before putting it back into regular service.
Look for:
- Frayed, cut, burned, or abraded webbing
- Fading, stiffening, or thinning material
- Loose, missing, pulled, or broken stitches
- Bar tacks that are damaged or starting to separate
- Cracked, bent, rusted, or distorted buckles, D-rings, V-rings, and adjustment hardware
- Buckles that do not fully latch, release cleanly, or stay locked under tension
- Sliders that drift or straps that loosen during use
- Handles that feel loose or show wear at the attachment point
- Padding that has compressed, shifted, torn, or become difficult to clean
- MOLLE, loop panels, G-hook tabs, or accessory points that are damaged or pulling away
Gently flex sections of webbing to help expose cuts, broken fibers, abrasion, or deterioration that may not be visible when the webbing is flat. Damaged webbing, stitching, or hardware should take a harness out of service until it is repaired or replaced.
Leash and Long Line Inspection Checklist
Leashes and long lines are simple pieces of equipment, but they take repeated shock loads and are often the first connection between handler and dog.
Check the entire length, not just the snap.
- Run the leash slowly through both hands to feel for cuts, flat spots, stiffness, thinning, or rough damage.
- Check webbing and rope for fraying, broken strands, burns, abrasion, or chemical damage.
- Inspect every stitched end, box stitch, braid, rivet, and handle attachment.
- Test the snap to make sure it opens, closes, and returns smoothly.
- Look for cracks, sharp edges, corrosion, excessive play, or bending in snaps, rings, and carabiners.
- Inspect traffic handles, floating rings, and adjustment points for slipping or unusual wear.
- Check long lines for knots, melted sections, cuts, and areas that could catch on brush or equipment.
If a leash has damaged fibers, a compromised snap, or a handle that is starting to separate, replace it. A leash failure can turn a routine walk, training session, or deployment into an avoidable loss-of-control situation.
Collar Inspection Checklist
Collars deserve the same attention as harnesses and leashes, particularly on powerful dogs that work on line, train in agitation, or wear equipment for long periods.
For nylon, leather, prong, and tactical collars, look for:
- Frayed or stretched webbing
- Cracked, split, overly dry, or hardened leather
- Loose rivets, pulled stitching, or damaged buckle holes
- Bent, worn, rusted, or pitted D-rings and hardware
- Buckles that are cracked, distorted, difficult to operate, or no longer secure
- Adjustment hardware that slips under normal tension
- Excessive wear around the D-ring, buckle, or martingale attachment points
- A fit that has changed because the dog gained or lost condition
Leather deserves extra attention as temperatures drop. Clean leather that has picked up dirt and moisture, let it dry naturally, and condition it as needed to prevent it from becoming overly dry or brittle. Cracks, deep cuts, weakened holes, or damaged hardware are signs that replacement should be considered.
For prong collars, make sure links are seated properly, the center plate and rings are not distorted, and the collar fits the individual dog correctly. A training collar should never be used as a substitute for good handling, clear timing, and appropriate training progression.
Know When to Replace, Not Repair
A little surface dirt is normal. Structural damage is different.
Remove equipment from service when there is:
- A cut, tear, or significant abrasion in load-bearing webbing or leather
- Broken, loose, missing, or pulled stitching at a load-bearing point
- A cracked, bent, badly corroded, sharp, or distorted buckle, ring, snap, or carabiner
- A buckle or closure that does not reliably latch and hold
- A strap that slips through an adjustment point under normal use
- A handle, D-ring, or attachment point pulling away from the body of the gear
- Damage after a major impact, vehicle incident, dog fight, heavy shock load, or chemical exposure
- Any piece of equipment that leaves the handler unsure whether it will perform when needed
Do not wait for a piece of gear to fail completely. Working dog equipment should be replaced before it becomes the weakest point in the system.
Build the Reset Into the Routine
A fall equipment reset does not have to take all day. Set aside 20 to 30 minutes, pull the main K9 kit out of the vehicle or gear room, and sort it into three groups:
- Ready for service: Clean, functional, properly fitted gear.
- Needs attention: Gear that needs cleaning, conditioning, adjustment, or a closer look.
- Retire and replace: Gear with structural wear, questionable hardware, or damage that compromises safety.
Record sizes and replacement needs while the equipment is in front of you. That makes it easier to replace a worn collar, add a backup leash, or update a harness before the next training block begins.
Reliable equipment gives handlers one less thing to think about. This fall, inspect the gear, replace what has earned retirement, and head into the next season with a K9 kit that is ready for the work ahead.
Repairs and Warranty Support
Before replacing a damaged piece of Ray Allen Manufacturing gear, check whether it may be eligible for repair or warranty support. We repair many of the products we build, and a worn item does not always need to be retired immediately.
For complete information on returns, repairs, and warranty coverage, visit our Returns, Exchanges, and Warranty Information page.